







Author: Sinomega House Technical Team | Published: October 9, 2026 | Information basis: current Sinomega product information and project installation requirements
Detachable container house installation should follow the approved drawings, foundation plan, package list and local work method. The sequence covers site readiness, unloading, frame assembly, panels, openings, utilities, inspection and handover. Crew size, tools, lifting equipment and installation time are project-specific and must be confirmed before mobilisation.
Product references before installation starts
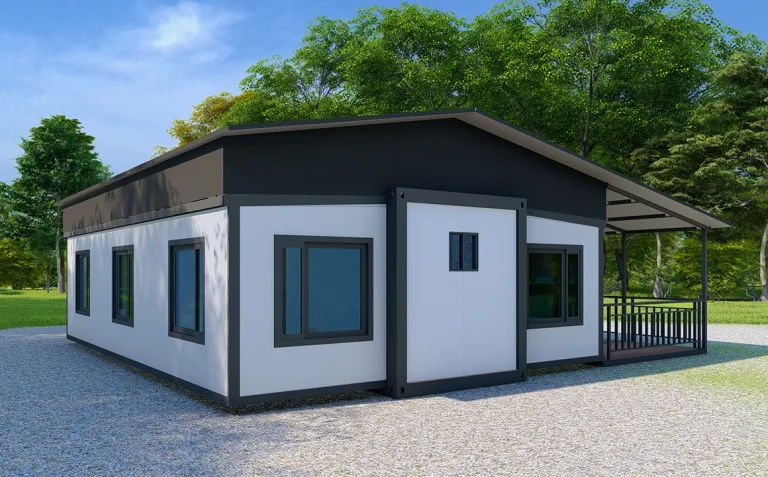
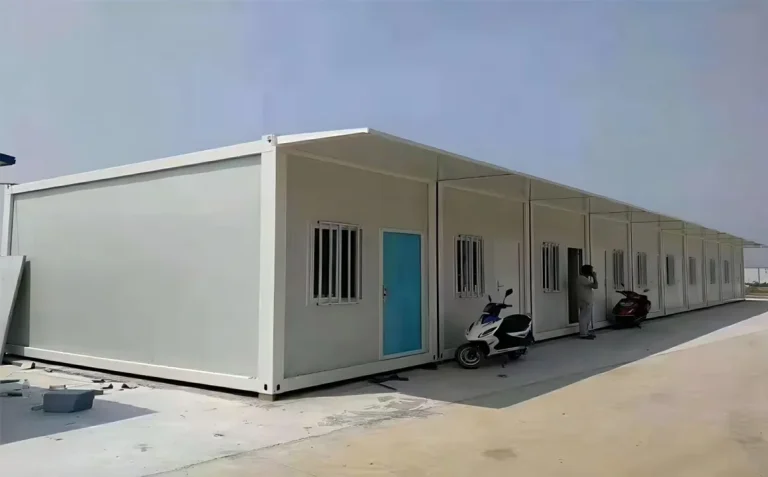
Sinomega describes its Detachable Container House as a fully detachable and reusable steel-frame system with insulated wall panels. The product page lists a standard size of 3000 x 6000 x 2896 mm, occupancy of 1-2 people, listed power of 12 kW and 12 units per 40HQ container. Catalog layouts show examples with a bedroom, bathroom, air conditioning, lighting and bed setup.
| Product reference | Published value | Installation implication |
|---|---|---|
| التكوين الإنشائي | Detachable steel frame and insulated wall panels | Confirm frame sequence, joint details and panel identification |
| المقاس المذكور | 3000 x 6000 x 2896 mm | Check foundation, access, clearance and final approved dimensions |
| الإشغال المُدرج | 1-2 people | Verify local accommodation and welfare requirements |
| القدرة الكهربائية المُدرجة | 12 كيلووات | Confirm voltage, frequency, circuits, load and earthing |
| Packing | 12 units listed per 40HQ | Reconcile package count and loading plan for the ordered layout |
| Layout examples | Bedroom, bathroom, AC, lighting and bed | Treat as options unless included in the signed schedule |
These are website-stated references. The approved project drawings and bill of materials govern the actual installation.
Step 1: Freeze the installation documents
Do not mobilise the site crew from a sales rendering. Issue a controlled installation package that identifies the model, drawing revision and responsibilities.
The package should include:
- general arrangement and room layout;
- foundation or support-point plan;
- frame and connection drawings;
- جداول الجدران والأسقف والأرضيات والأبواب والنوافذ؛
- electrical diagram and load information;
- sanitary, water and drainage interfaces;
- packing list, package labels and unloading sequence;
- installation instructions, inspection points and acceptance records.
Check local building, fire, electrical and sanitary requirements before work begins. A manufacturer drawing does not replace destination permits or local engineering approval.
Step 2: Verify access, foundations and drainage
Walk the delivery and lifting route before the shipment arrives. Record road width, turning radius, bridge or surface limits, overhead clearance, crane position, package storage and emergency access.
The foundation or support system must match the approved structural design and site conditions. Verify levels, dimensions, support locations, drainage and utility penetrations. Do not correct a significant foundation mismatch by forcing the frame into position.
Completion check: the survey record matches the drawing tolerances specified by the appointed engineer, access is clear, and drainage will not direct water under the unit.
Step 3: Prepare lifting, tools and worker safety controls
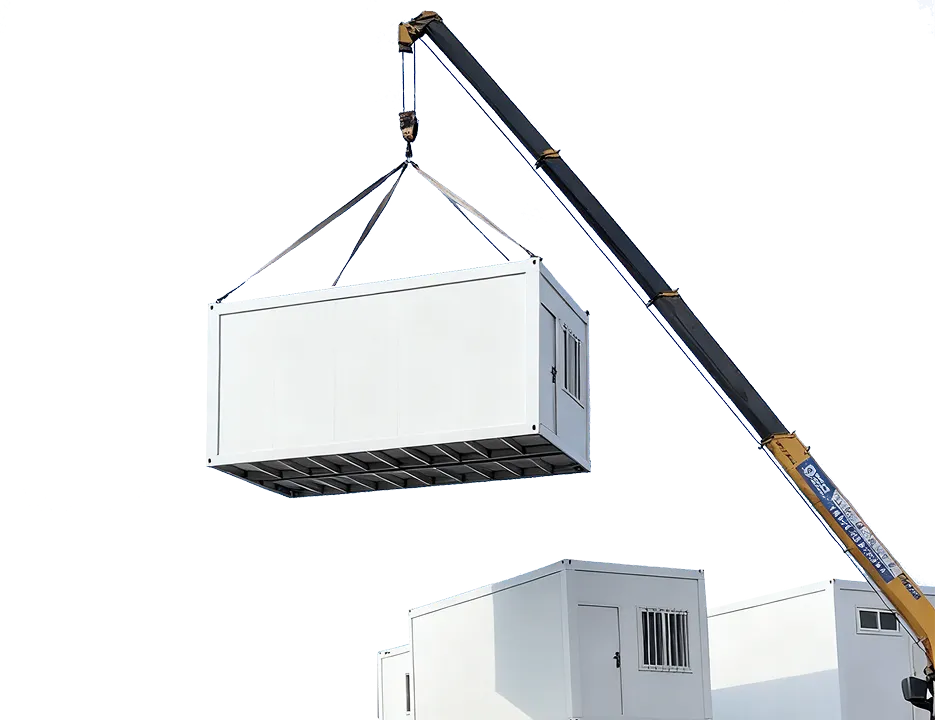
The lifting plan must use the supplier's approved handling information and the equipment provider's rated method. Confirm package weights, lifting points, centre of gravity where applicable, slings, spreader requirements and exclusion zones.
Prepare tools and consumables specified in the installation manual. Also establish fall protection, electrical isolation, hot-work controls if any, housekeeping, weather limits and emergency procedures according to local rules and the contractor's safety system.
No verified universal crew size or installation time is available in the current source file. Those values depend on the selected design, site, equipment and worker competence.
Step 4: Receive and reconcile every package
Compare the delivery against the final packing list before components are distributed around the site. Record damaged packaging, missing labels or visible damage immediately.
Use the module code and package number to group frame members, panels, openings, electrical components, sanitary items, furniture and fasteners. Keep coated steel, panels, glazing and electrical parts protected from standing water and impact.
Completion check: received quantities reconcile with the packing list, exceptions are documented, and priority components are accessible for the planned sequence.
Step 5: Assemble the primary frame
Follow the manufacturer's sequence for the base, columns, top members and specified connections. Support components during erection and do not leave an incomplete frame unstable.
Check orientation before tightening connections. Door, window, sanitary and service positions should match the layout. Measure the frame using the checks stated in the installation documents; do not invent site tolerances.
Compared with a fully assembled volumetric module, a detachable system can use a different packing format and be dismantled for reuse, but more structural and enclosure work occurs at the destination. The project must provide suitable labour, supervision and inspection.
Step 6: Install floor, wall and roof systems
Install floor, wall and roof components in the documented order. Confirm panel identification, joint details, fasteners, sealants and interfaces around corners and openings.
Do not call the completed enclosure fireproof, waterproof or suitable for every climate without product-specific evidence and destination review. Panel type, thickness, finish, sealing and available test documents must match the approved schedule.
Protect unfinished joints from weather. An edge case occurs when installation pauses overnight or during rain: the temporary protection plan should prevent water entry and damage without concealing joints that still require inspection.

Step 7: Fit doors, windows and interior items
Install doors and windows after confirming opening dimensions and frame alignment. Check operation, hardware, seals and interfaces. Fit partitions, finishes and furniture only when the approved configuration includes them.
Catalog room layouts are examples, not a promise of standard supply. Reconcile beds, cabinets, air-conditioning equipment and sanitary fixtures against the commercial schedule before marking the room complete.
Step 8: Connect electrical and sanitary services
Electrical work must follow the approved diagram, equipment instructions and destination-country rules. Verify voltage, frequency, conductor protection, circuits, earthing, isolation and connected equipment. The listed 12 kW value is a product reference, not a substitute for the project load schedule.
For bathrooms or kitchens, connect water, drainage, ventilation and hot-water systems according to the project design. Pressure, leak and functional tests should use locally approved methods. The responsibility matrix must identify which connections are completed by the factory, site contractor and licensed local trades.
Step 9: Inspect before enclosure and handover
Use hold points so hidden work is checked before it becomes inaccessible. The inspection plan may cover frame connections, dimensions, support contact, panel joints, openings, electrical work, sanitary work, finishes and equipment.
Record defects with the module code, location, photograph and corrective action. Reinspect closed items rather than accepting an undocumented verbal correction.
The final handover package should include approved drawings, inspection records, test results required by the project, equipment information, packing reconciliation, defect closure, warranties, spare parts and maintenance instructions.
Step 10: Plan dismantling and reuse from day one
Sinomega describes the detachable product as reusable. Practical reuse depends on how the unit is assembled, maintained, dismantled, labelled, packed and stored.
Before relocation:
- isolate and disconnect utilities using qualified personnel;
- record the installed configuration and component condition;
- remove loose equipment and protect openings;
- dismantle in the approved reverse sequence;
- label components by module and position;
- replace damaged seals, fasteners or other specified consumables;
- pack components for the new route and storage conditions;
- inspect the destination site before reassembly.
Reuse should not be interpreted as unlimited reuse or automatic compliance at a new site. The destination climate, foundation and regulations require a new review.
Manufacturer scope versus site-contractor scope
Write a responsibility matrix before quotation approval. It should identify who supplies drawings, units, loose accessories, tools, lifting, foundations, unloading, labour, utilities, permits, inspection, commissioning and warranty support.
Sinomega states that technical drawings, quotation, export documentation and global delivery support are offered. Installation and project requirements must be confirmed with its engineering team. Review the container house factory checklist before accepting a supplier scope, and use the shipping cost guide to align package data with site access.
الأسئلة الشائعة
How long does detachable container house installation take?
No verified universal duration is available. Time depends on configuration, quantity, foundation readiness, access, equipment, crew competence, utilities, weather and inspection requirements. Request a project method statement and programme.
How many workers are needed?
Crew size is project-specific. The contractor should base it on the manufacturer's sequence, lifting plan, work fronts, local safety rules and required trades.
Are foundations included with the house?
Do not assume so. Foundation design, construction and verification must be assigned in the responsibility matrix and checked against site conditions.
Can the house be dismantled and installed again?
The product is described as fully detachable and reusable. Reuse depends on component condition, approved dismantling, replacement items, packing, storage and the new site's engineering review.
Does the listed size apply to every layout?
The website lists 3000 x 6000 x 2896 mm as a standard reference. Confirm final dimensions on the approved drawing, especially when doors, bathrooms, equipment or custom layouts are added.
Request an installation-ready package
راجع Sinomega Detachable Container House and prepare the site location, layout, foundation information, utilities, access route, lifting resources and required documents. Use the صفحة الاتصال to request model-specific drawings, packing data, installation instructions and a quotation that separates factory and local scope.